Configuring TrueNAS - Create a Data-Pool
Posted on August 16, 2024 (Last modified on November 4, 2025) • 5 min read • 878 wordsAfter TrueNAS itself has been installed, a data pool is first created, the layout of which has a significant influence on the performance of the network storage.

Serie TrueNAS
This is an article in the series TrueNAS - a NAS for your Homelab
Configuring TrueNAS
Various Data-Pool Layouts
TrueNAS is based internally on the ZFS file system, which is why the equivalent ZFS designations are often used in the context of TrueNAS (RAID 5 <-> RAID-Z1, RAID 6 <-> RAID-Z2). However, the idea of distributing data across different disks is the same.
| Raid Level (1-VDEV) | Pro | Con | Main Usage |
|---|---|---|---|
| RAID-0 Striping | Usable capacity is the sum of all individual disk capacities, max. high read/write speed | no redundancy | Only use if data can be lost |
| RAID-1 Mirroring | high read speed | lower write speed, total number of disks need to be even, usable capacity max. 50% | Use if max. concurrent read/write operationen and redundancy is needed |
| RAID-Z1 Stripping, 1 Parity | 1 defect disk can be compensated, lower read/write speed increasing with number of disks | Usable capacity (number of disks minus 1) * smallest single-disk-capacity | Compromise between usable capacity/redundancy and speed |
| RAID-Z2 Stripping, 2 Parity | 2 defect disks can be compensated, lower read/write speed increasing with number of disks | Usable capacity (number of disks minus 2) * smallest single-disk-capacity | Compromise between usable capacity/redundancy and speed |
| RAID-Z3 Stripping, 3 Parity | 3 defect disks can be compensated, lower read/write speed increasing with number of disks | Usable capacity (number of disks minus 3) * smallest single-disk-capacity | Compromise between usable capacity/redundancy and speed |
Notes on read/write speeds
- A current rotating hard drive can read and write data at around 150 MB/s. Home networks are still often
1 GBit networksdue to the cheap components, which can therefore move data at around100 MB/s. In this context, it makes perfect sense to favour the higher usable capacity of a RAID-Z1 or RAID-Z2 over the higher speed of a RAID-1 layout. - For the same reason, a NAS consisting only of SSDs offers no advantages in terms of maximum transfer speed. However, it will show a noticeable advantage over rotating hard drives if a large number of small files are frequently moved.
- Depending on the type of use of a NAS consisting of rotating hard disks, performance can be increased if an SSD
ZFS L2ARC read cacheis added to the system. (see below definition of the pool layout, optional cache) - If it is possible to use a larger number of hard disks (~ >10), the ZFS file system and therefore TrueNAS also offers the option of defining several VDEVs in parallel. This makes it possible to distribute read/write accesses even better in the system and thus significantly increase them. Multiple VDEVs are not discussed further in this article.
Create a Data-Pool
From TrueNAS main dashboard you can access the storage management area via -> Storage.
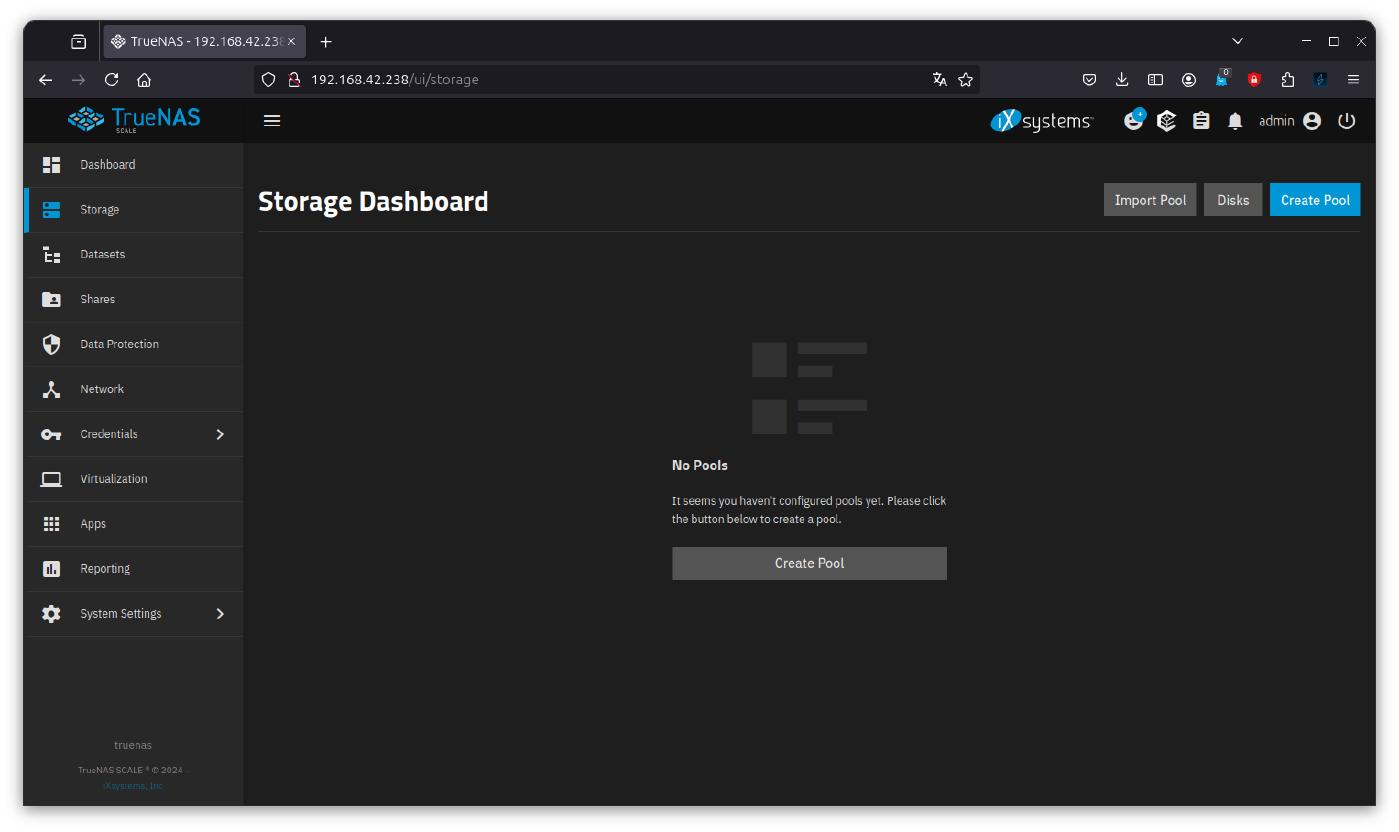
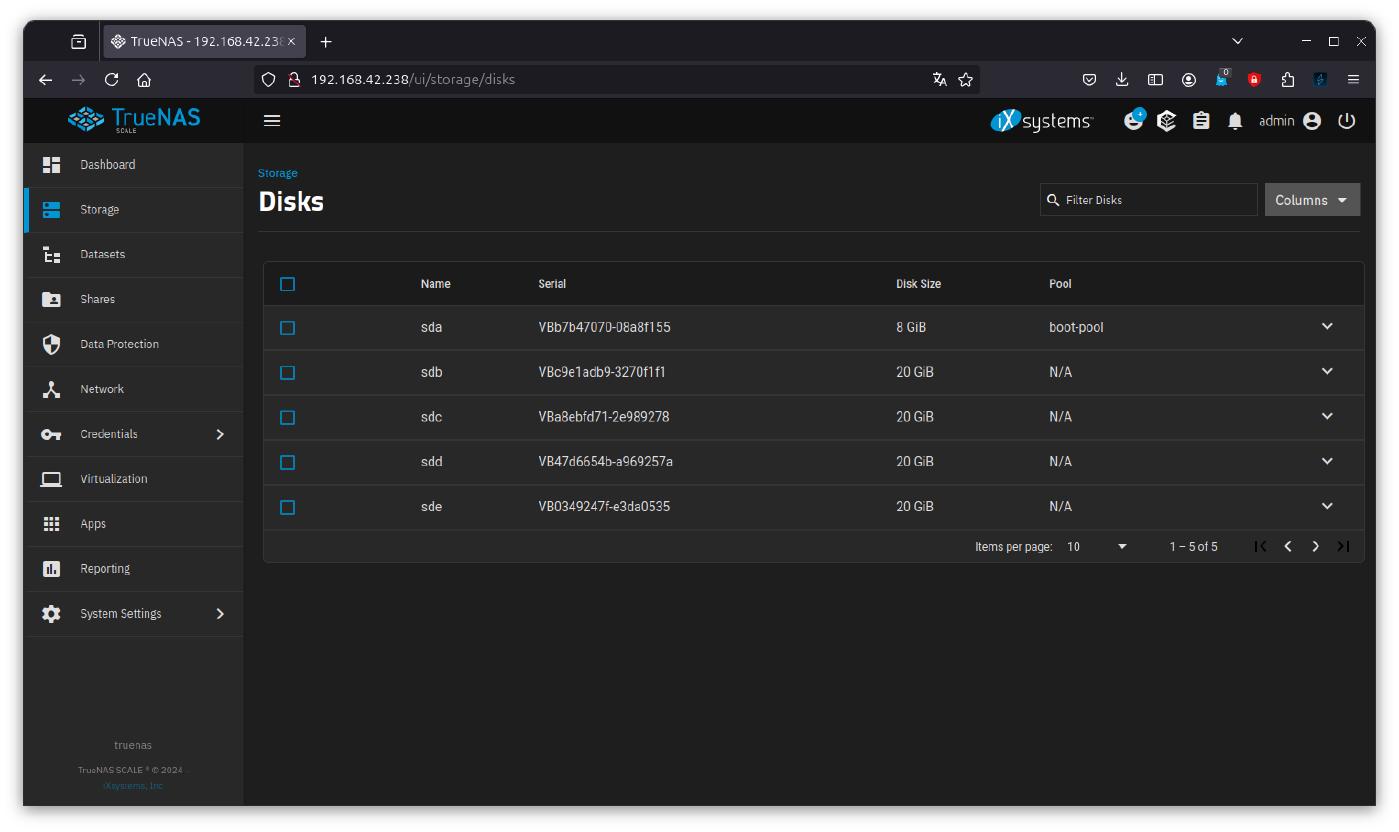
Click -> Storage -> Disks to display the list of hard disks recognised in the system. There should now be some disks here that are not yet assigned to a pool (N/A)
A new pool can be created using the Pool Creation Wizard (-> Storage -> Create Pool), which guides you step by step or section by section through the creation process.
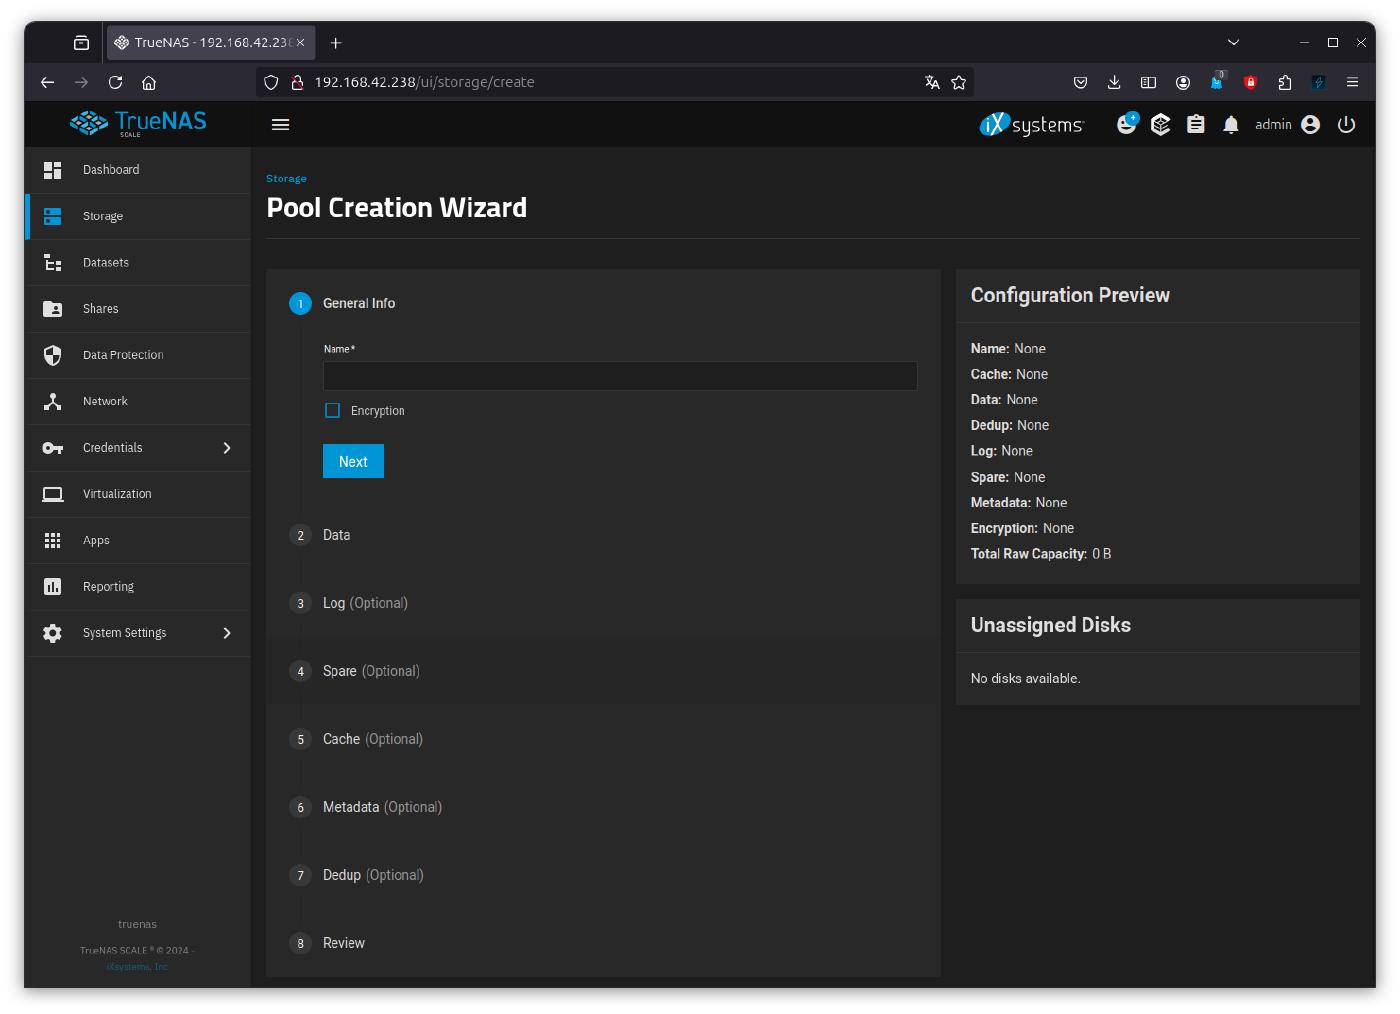
In General Info section, enter a name for the pool to be created
- Name: Test-Pool
The layout of the pool is defined in the Data section. At the beginning of this article, I summarised the advantages and disadvantages of a selection of layouts in a table. In this example, a RAID 5 / RAID-Z1 is to be created from all four disks, so one disk can completely fail and all data will remain available.
- Layout: RAID-Z1
- Disk Size: given 20GB
- Width: 4
- Number of VDEVs: is computed to
1, as all disks are already assigned
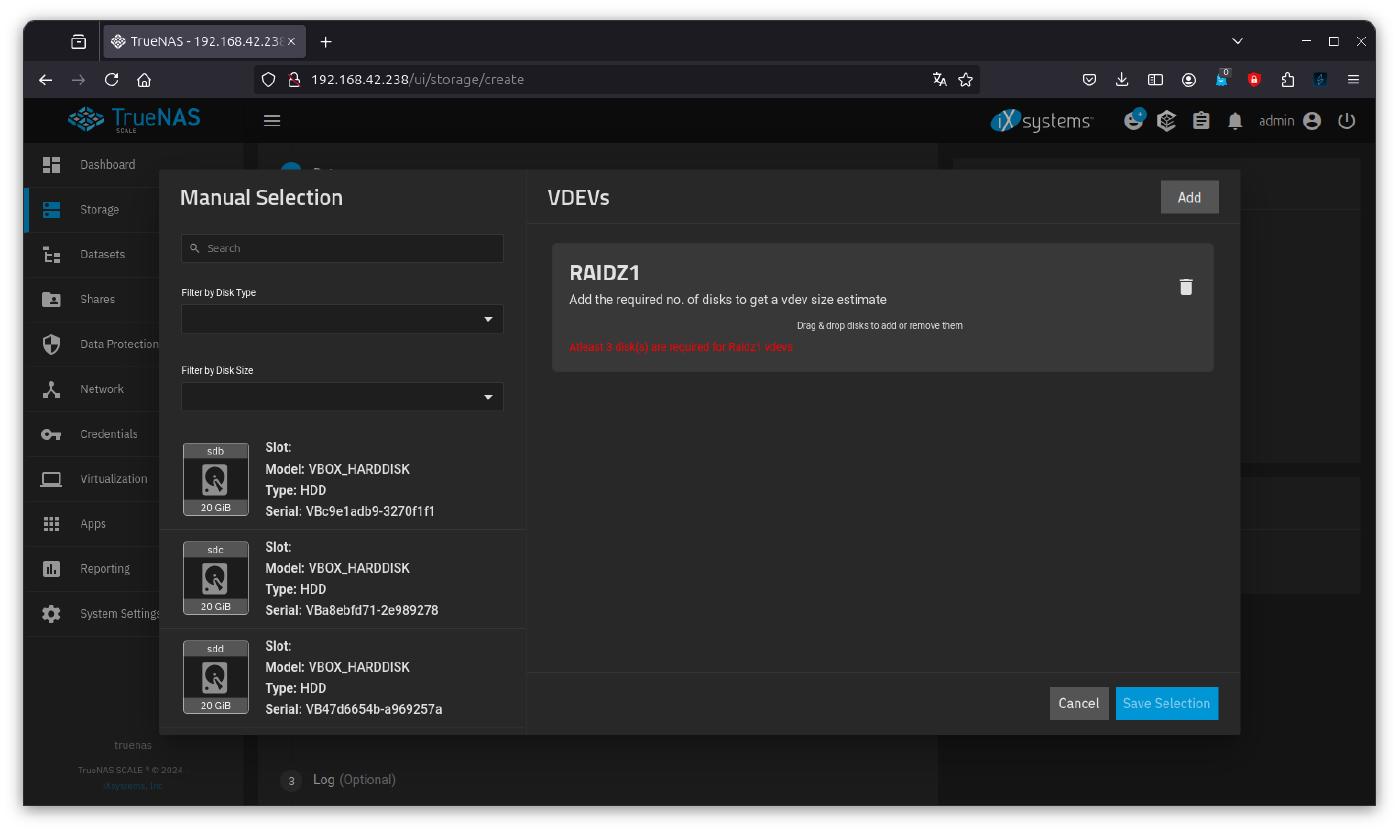
you can also assign disks manually
-
Layout: RAID-Z1
-
-> Manual Disk Selection
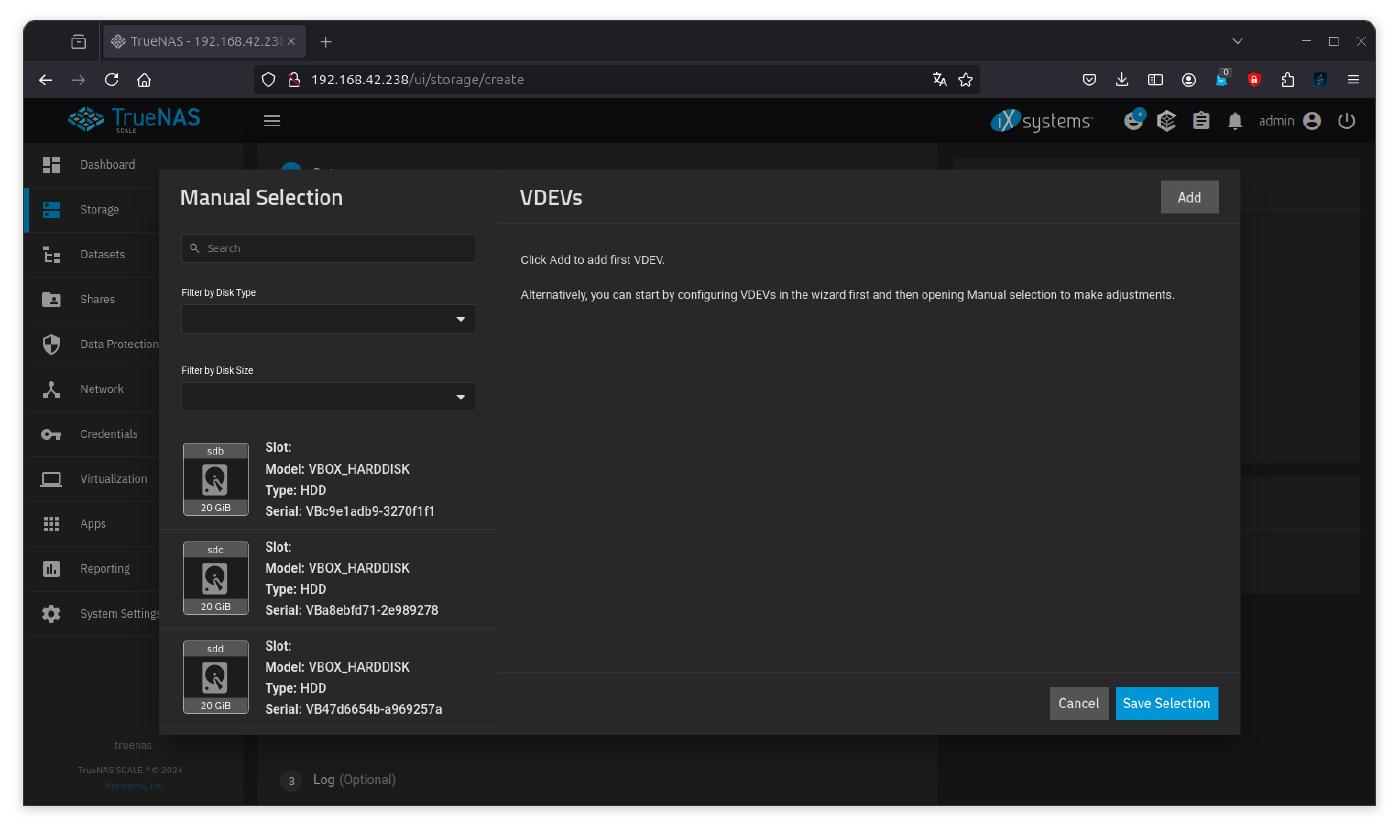
-
-> AddVDEV
-
The required hard disks can now be dragged and dropped into the VDEV.
The result is the same as with keyboard input
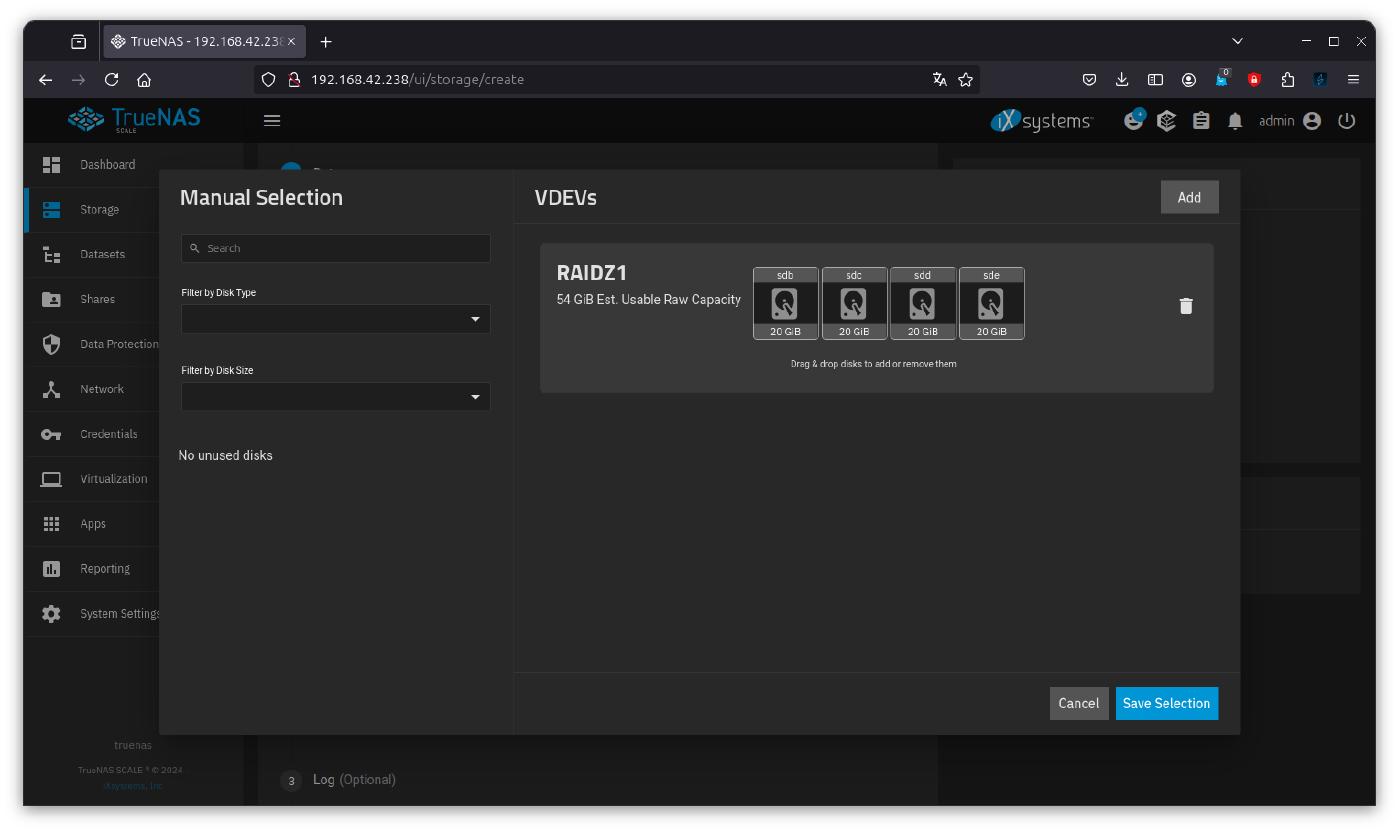
-> Save Selection
In the LOG (Optional) section, dedicated hard disks can be added as write cache
- continue without cache
In the Spare (Optional) section, hard disks can be added that immediately take over in the event of the failure of another pool disk
- continue without spare disc
In the Cache (Optional) section, dedicated hard disks can be added as ZFS L2ARC read-cache
- continue without cache
In the section Metadata (Optional) dedicated hard disks can be added to accelerate the Meta Data and Block IO
- continue without cache
In the section Dedup (Optional) dedicated hard disks for de-duplication tables can be added
- continue without de-duplication VDEV
The Review section summarises the entries
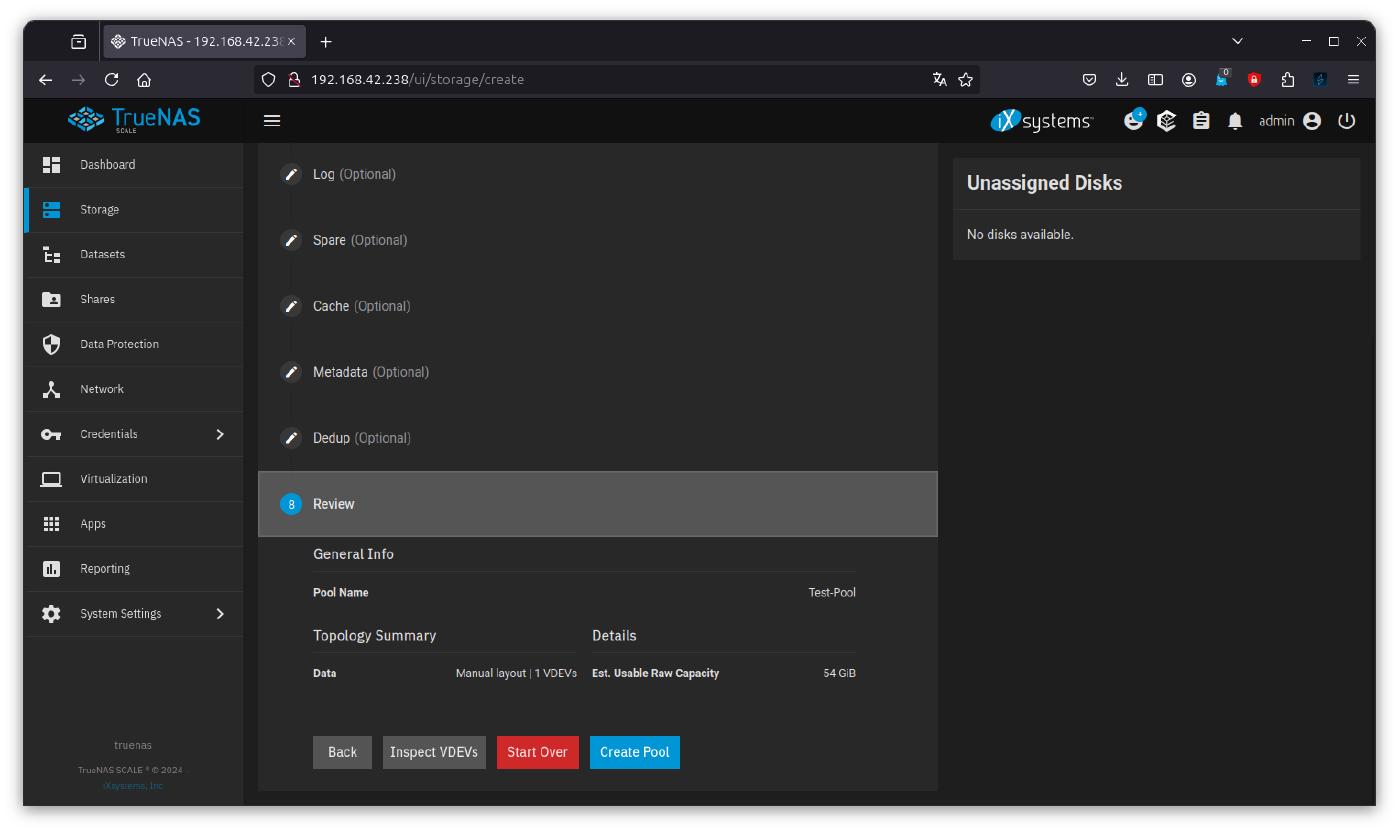
-> Create Pool to create a pool
Confirm that the contents of all hard drives will be deleted
-> Continue
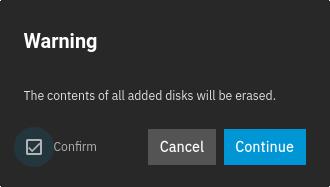
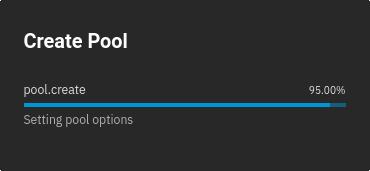
The pool is then created
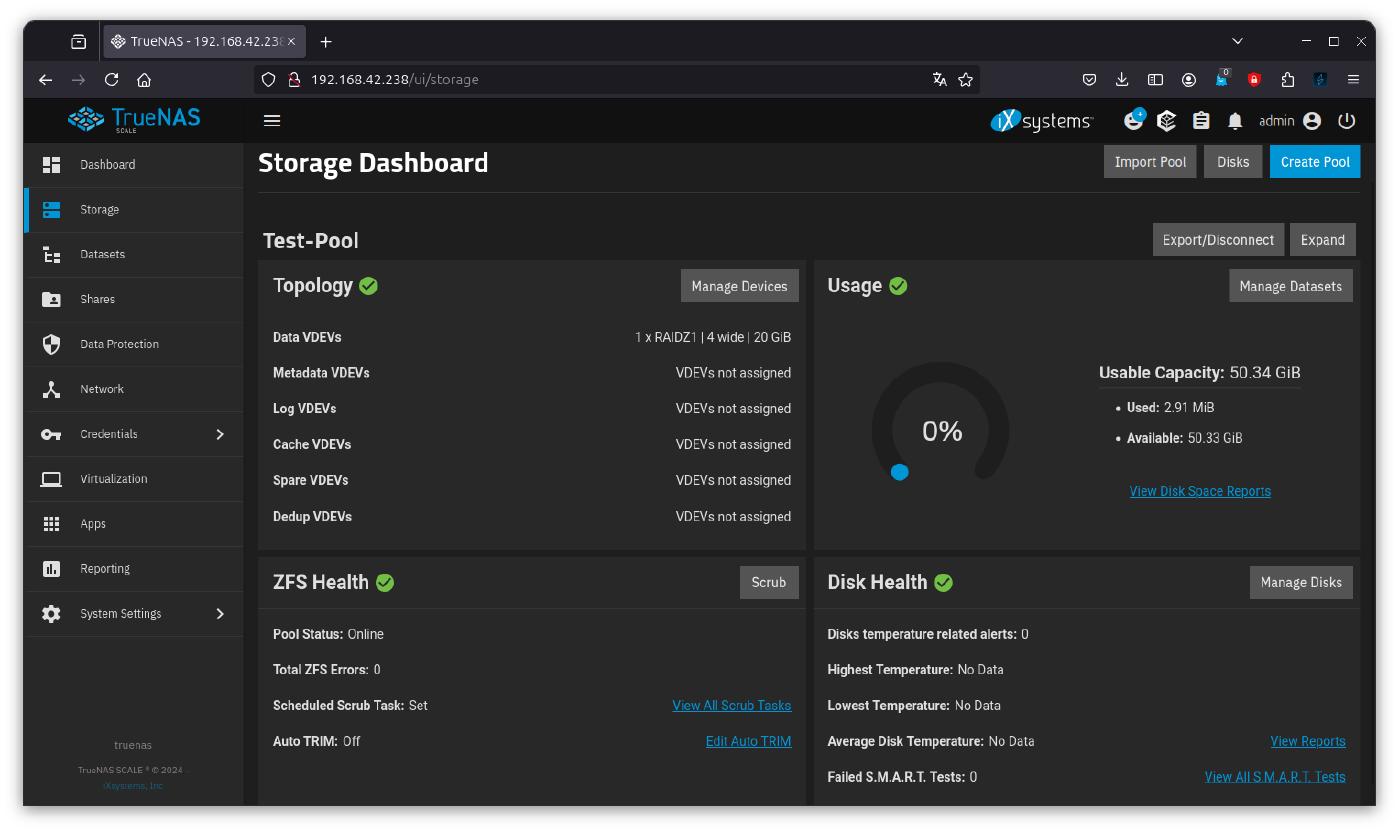
The pool has been created and the dashboard for this pool is displayed.
Conclusion
In Configuring TrueNAS - Create a Samba Share we’ll finally use the data pool to expose a Samba network share in our network.