Configuring TrueNAS - Create a Samba Share
Posted on August 20, 2024 (Last modified on November 4, 2025) • 3 min read • 604 wordsAs soon as TrueNAS has a data pool, this storage can be made available to Windows or Linux systems in the home network, e.g. via a Samba share.

Serie TrueNAS
This is an article in the series TrueNAS - a NAS for your Homelab
A network share is essentially a unique location on the network that allows other computers on the same network to save data there and read it from there. Samba is one of the possible and widespread protocols that can be used for both Windows and Linux systems.
A user/password combination is required to log on to a network share.
Following the TrueNAS process, a Samba share needs at least one user when it is created. Let’s see…
Configuring TrueNAS
Create a SMB User
The TrueNAS user administration can be accessed via -> Credentials -> Local User.
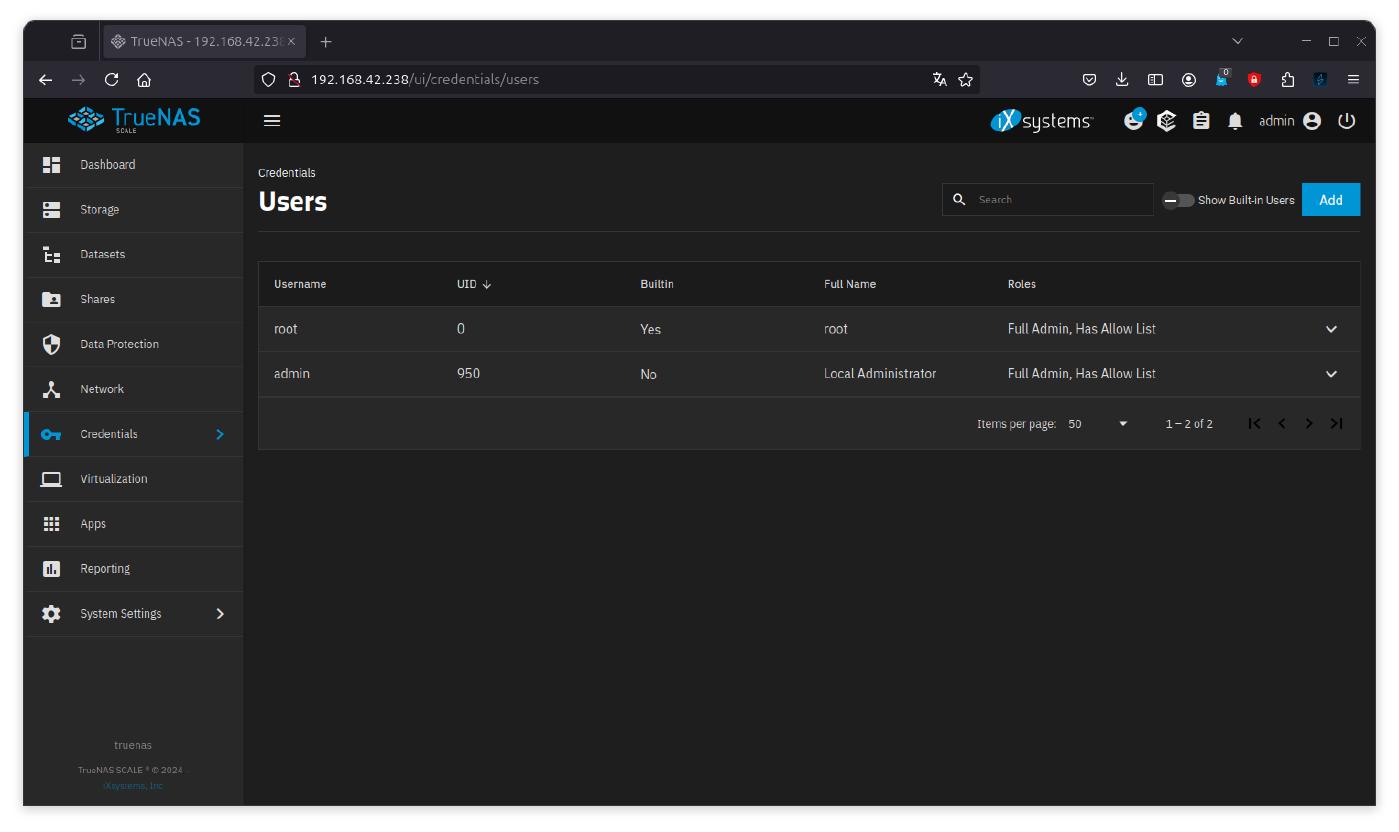
A user can be added -> Add
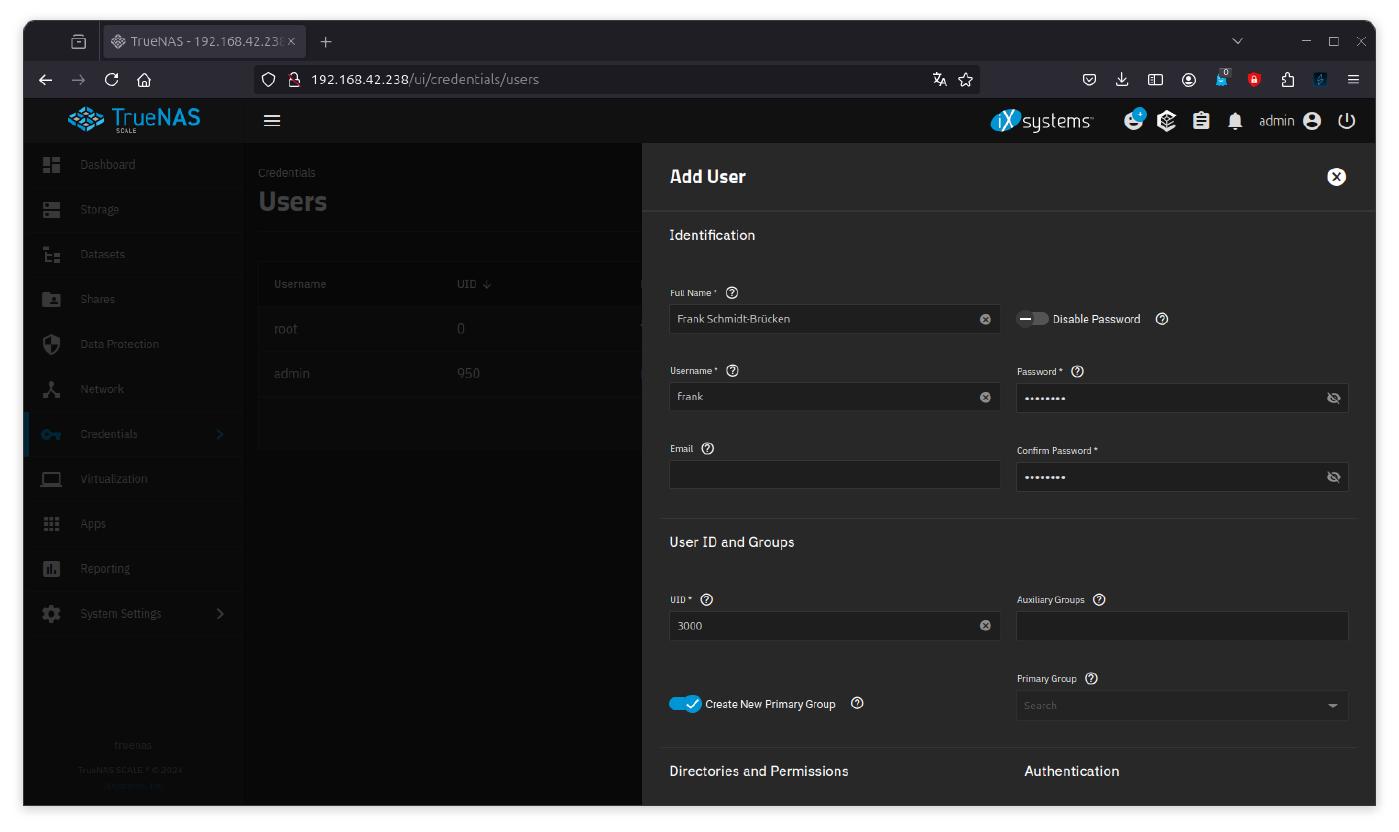
At least these inputs are required
- Full Name: enter full user name
- Username: enter user name or use proposed one
- Password: provide a password and confirm beneath
- Keep the other stuff as default
Scroll down a bit and save data for new user Save.
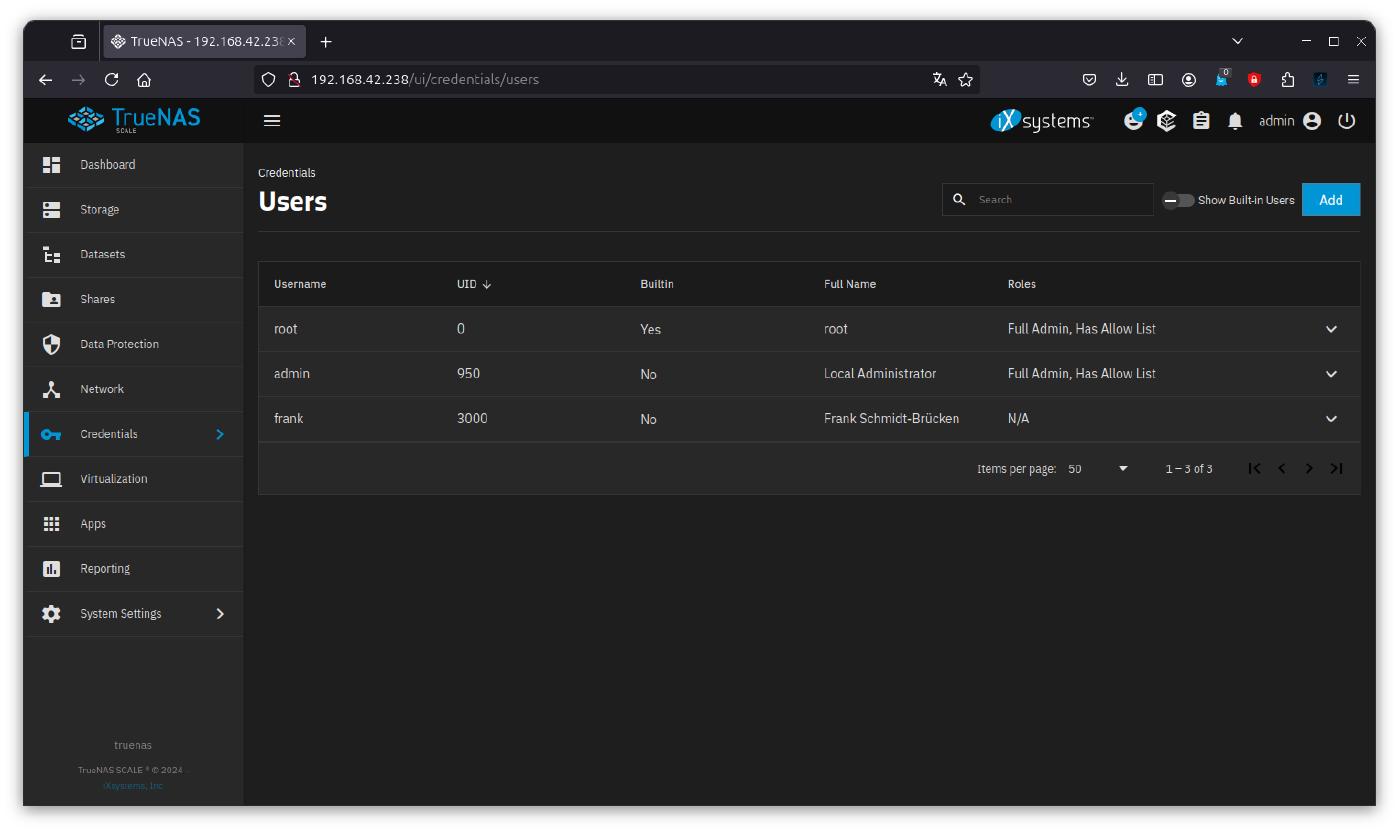
There is now a new user in the system.
Create Data Set with Samba-Share
A data set is a logical area/directory within a data pool that can be used to group data thematically. A network share can then be set up for a data set. TrueNAS enables this combination of tasks (create data set + share) to be completed in one step and uses presets for this.
The data sets are managed in ->Datasets
Here you can already see the list of available data pools in which data sets can be created.
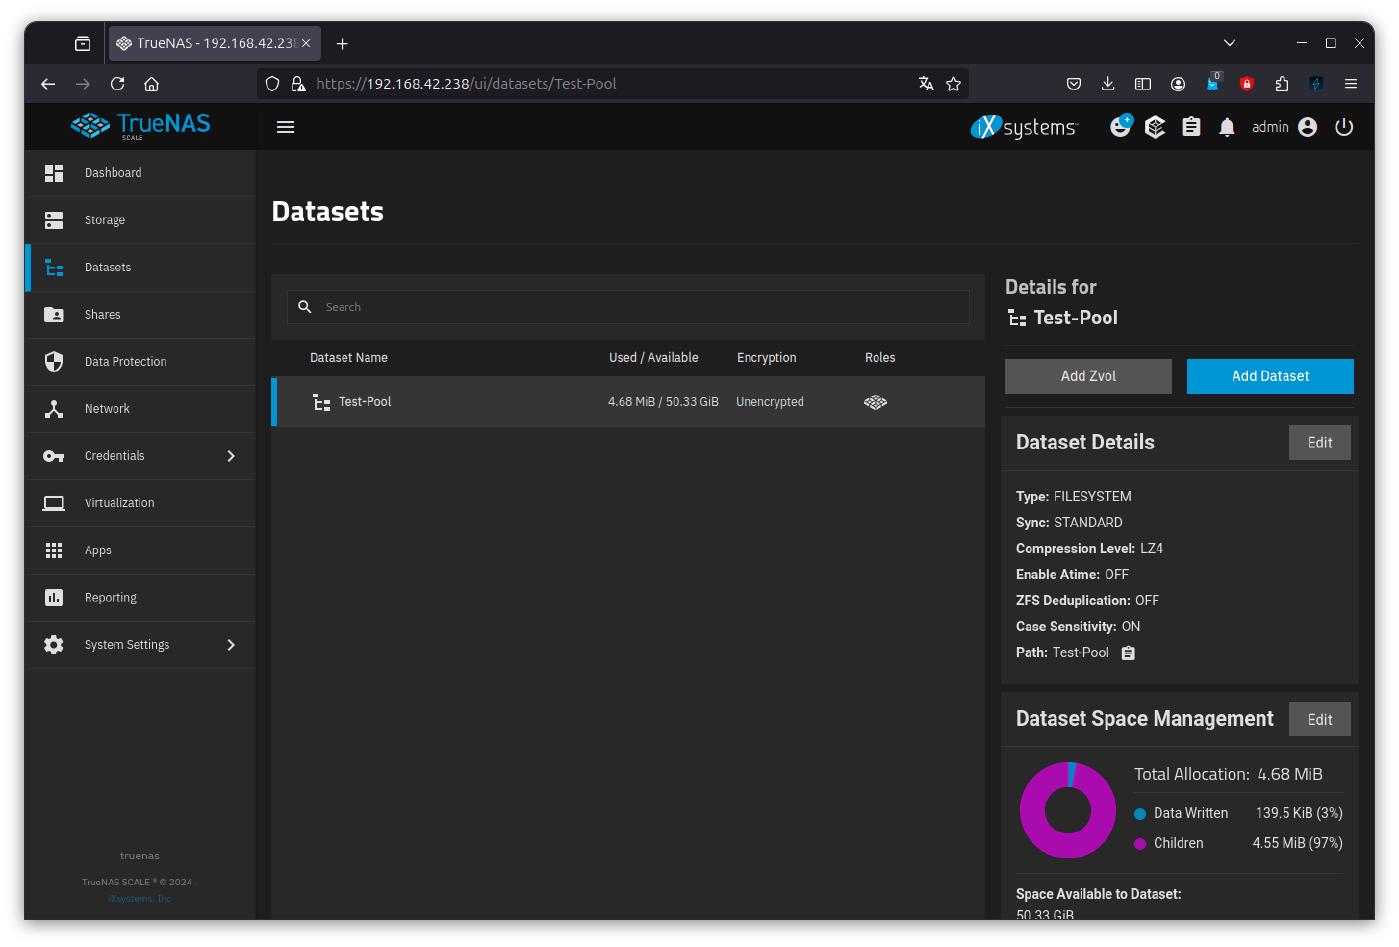
A new dataset can be added with
-> Add Dataset .
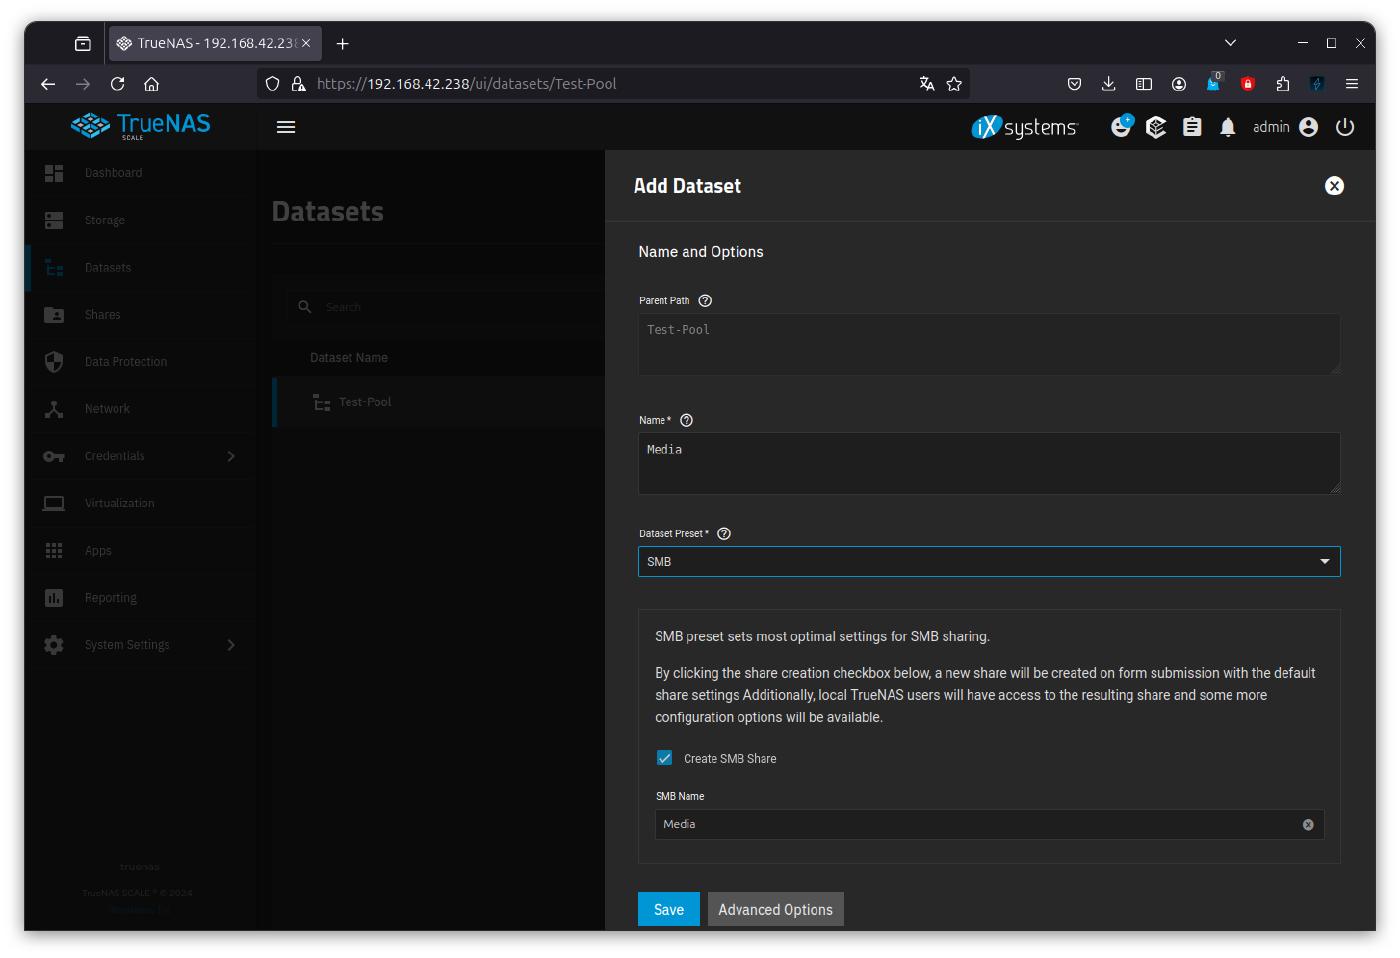
- Name: Media
- Datset Preset: SMB
- Create SMB Share: put a tick
- SMB Name: Media
- Rest : < keep as proposed >
SMB for this data set. This already sets all the important parameters correctly and makes life much easier for the admin. The parameters remain accessible if you wish.
SMB name will later be visible to other computers and should therefore describe the content of the share.
The setup is completed by saving the details -> Save.
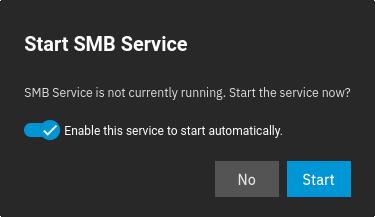
You then specify that the Samba (SMB) service should be started automatically and that this should already be done now -> Start.
Testing the Samba-Share
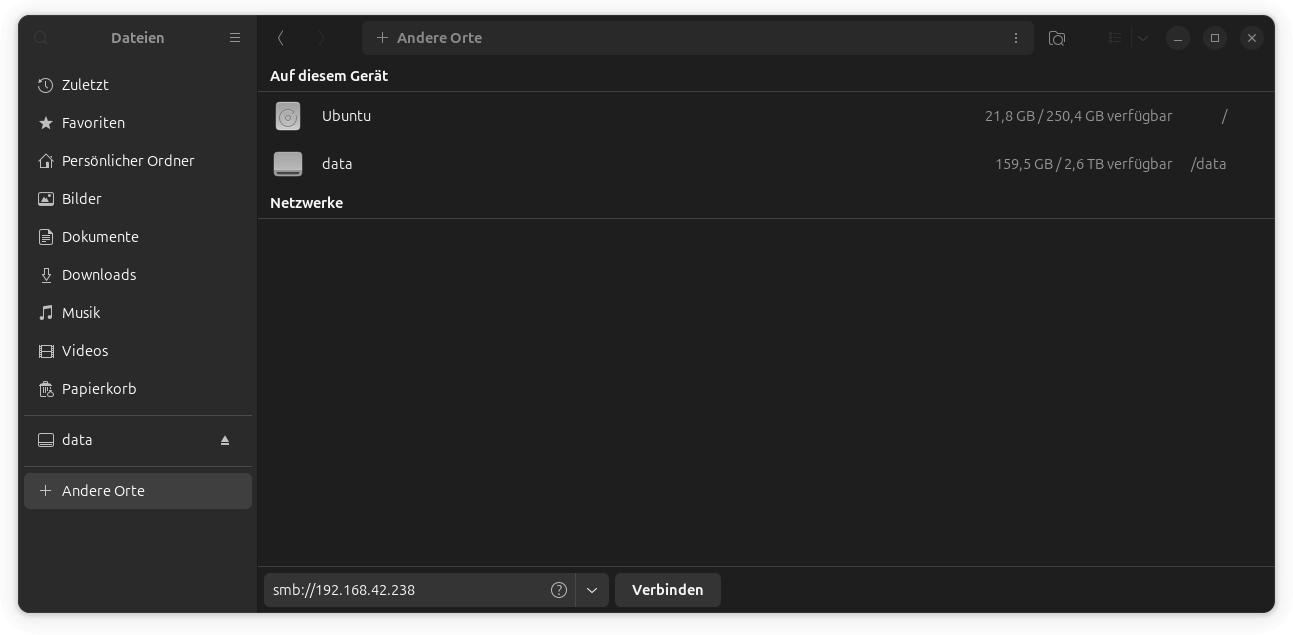
I connect to the TrueNAS from another Linux computer in the network and specify the protocol (smb) provided for this purpose: smb://192.168.42.238
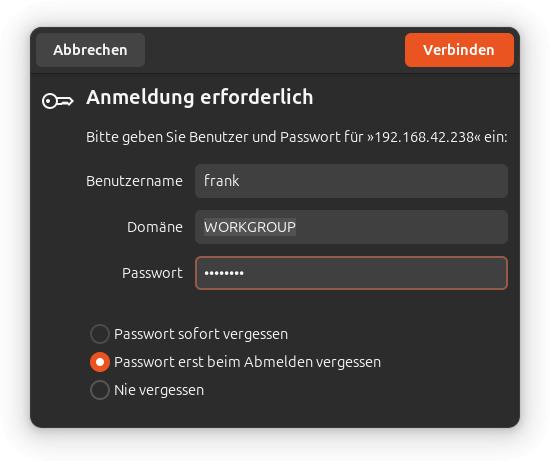
As hoped, TrueNAS asks for my authorisation, whereupon I enter my user name and password. I leave the domain as default (I have already seen WORKGROUP in Windows 98, so it is probably a compatibility thing)
Under Linux, the validity period of the entries can still be restricted as required.
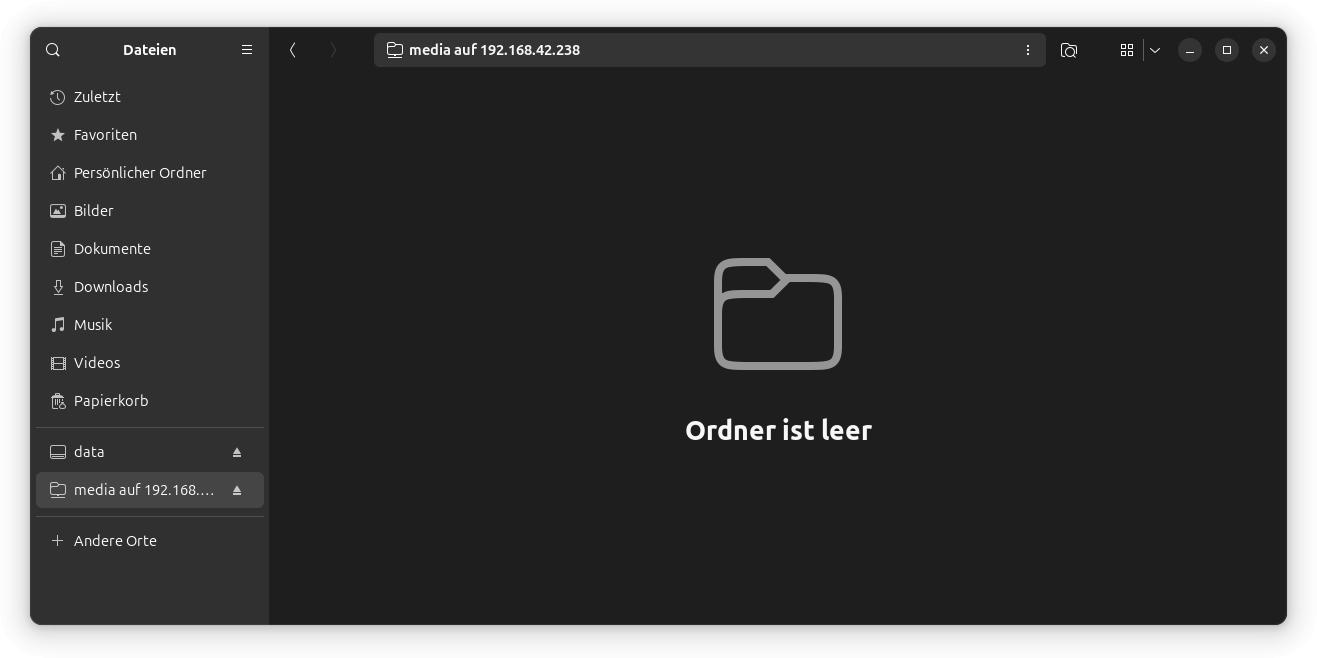
Lo and behold, I have successfully integrated the Media data set into my system and am now faced with an empty folder.
As a test, I copy the TrueNAS ISO image to the share…
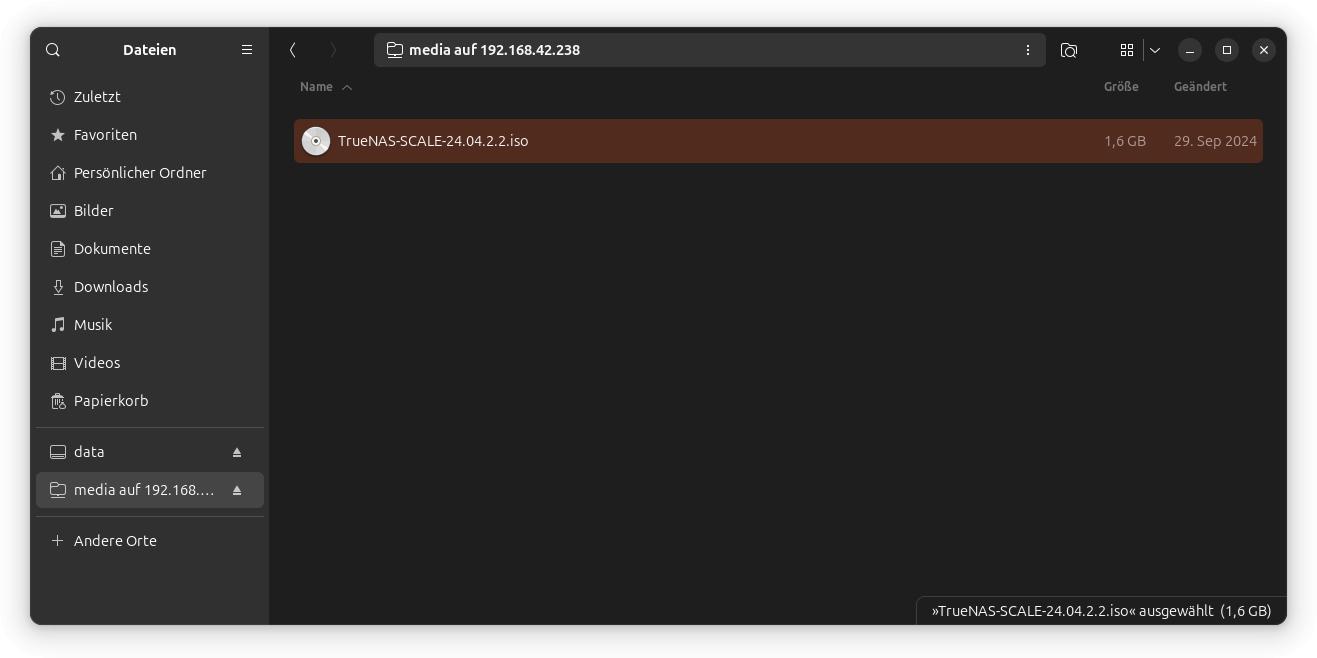
After the copy process started at ~90 MB/s, it stabilised to ~70 MB/s afterwards. Not too bad considering I’m running TrueNAS as a virtual machine, which in turn has four virtualised drives accessing one spinning disk.
Assuming a GBit network, large files should be able to be moved at ~100 MB/s, with many smaller files it can also fall significantly below < 20 MB/s at times. Here, for example, it would help to provide TrueNAS with a read/write cache.
Conclusion
References
- This Series: TrueNAS - a NAS for your Homelab