Installing TrueNAS
Posted on August 14, 2024 (Last modified on November 4, 2025) • 3 min read • 621 wordsThe NAS computer is screwed together or virtualised, now it's time to install TrueNAS.

Serie TrueNAS
This is an article in the series TrueNAS - a NAS for your Homelab
Installing TrueNAS
If you have not already done so, go to
TrueNAS,
in the browser of your choice, select the TrueNAS Community Edition and download the Linux-based TrueNAS Scale in the ‘stable’ version as an ISO image.
For use with real hardware, we create a bootable USB stick from the ISO image and insert it.
Switch on the computer and off you go.
The TrueNAS installation itself takes place in a text window. As soon as this is complete, TrueNAS can be conveniently configured via the web browser.
Let’s start with the GRUB boot manager.
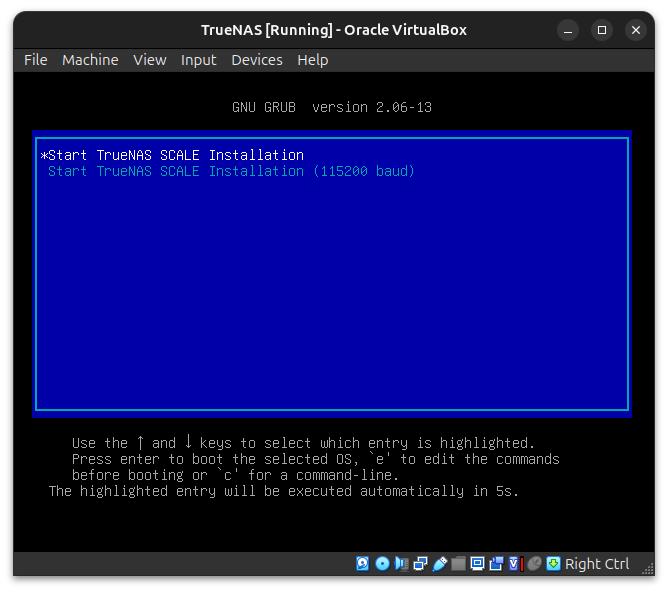
If you wish, you can continue with -> Return, wait until it continues automatically after a few seconds or interrupt the automatic process with the ⬆️ or ⬇️ button.
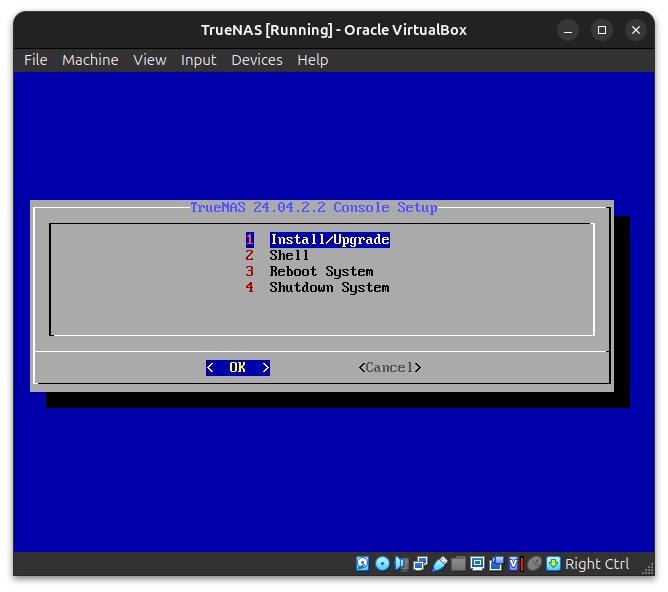
Now select Install/Upgrade from the menu.
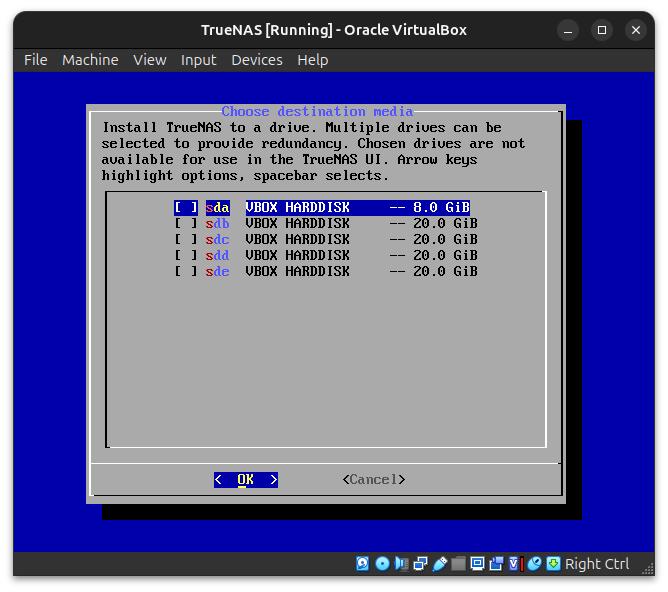
The installation target is now going to be selected. All hard disks that the system recognised at startup are available for selection in the list. This is therefore a first test to see whether everything went well when assembling the computer or configuring the virtual machine.
In this case, we see five hard disks virtualised by VirtualBox, an 8GB hard disk that is intended for the TrueNAS operating system and four other 20GB hard disks that we will later merge into a data pool.
Use the cursor keys ⬆️ / ⬇️ to find the installation target,
choose it with the space bar (the star appears)
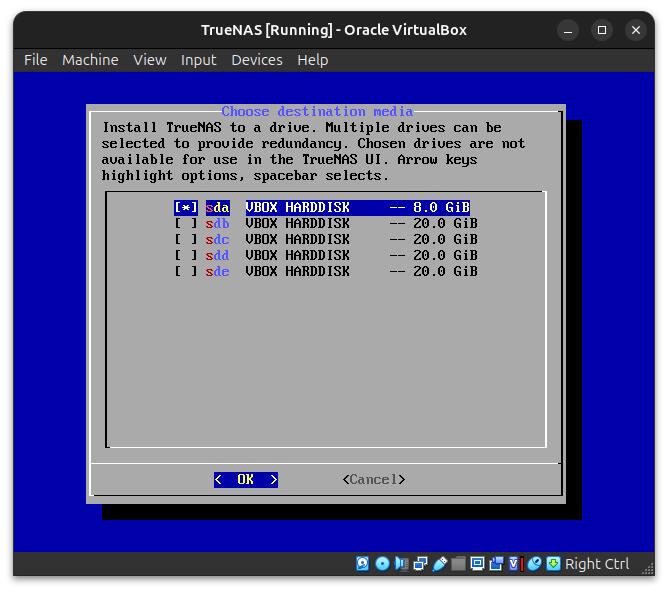
and confirm with OK.
Being a fair installer, we are asked again whether we are sure that all data on this disk may be irrevocably lost?
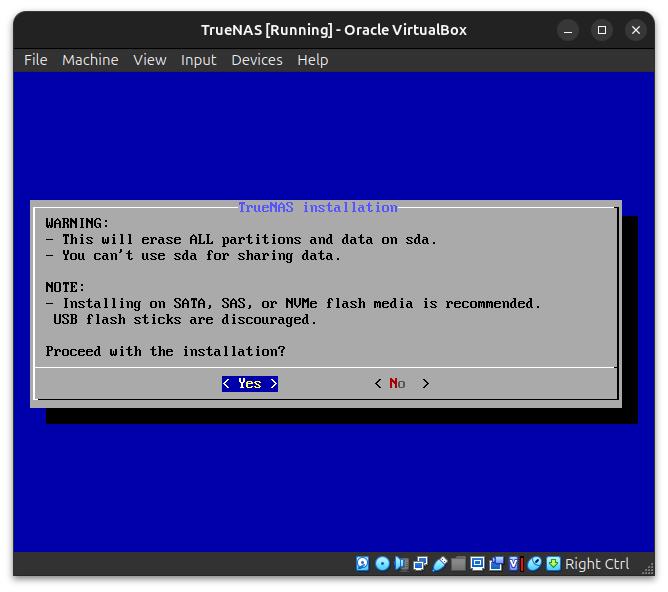
And confirm this.
Next, we create the Admin access for this TrueNAS installation by selecting 1
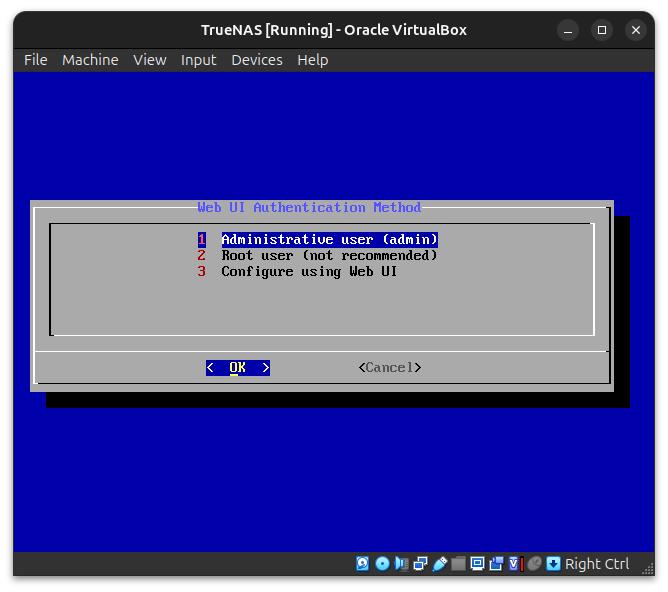
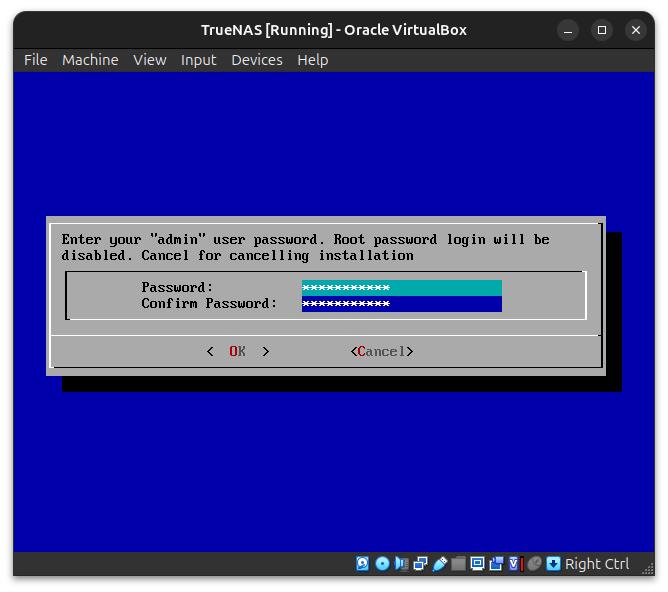
and choosing a secure passwort.
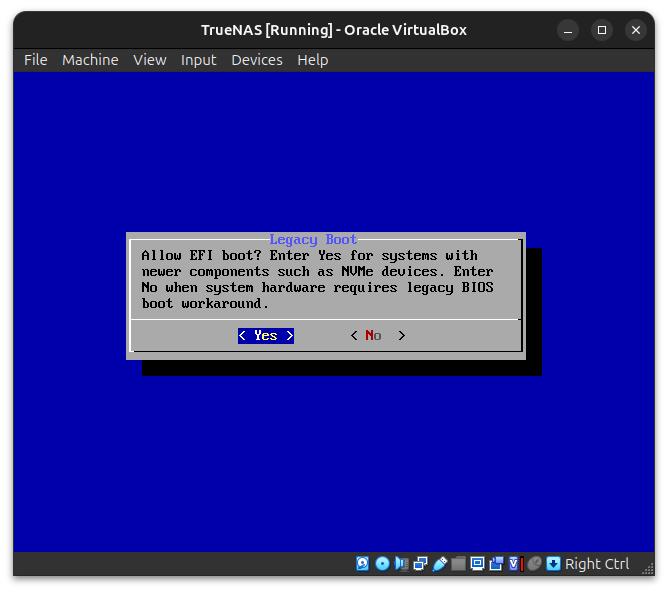
Now we confirm that the hardware used supports EFI boot, of course only if it does.
After some time, the following message appears that the installation was successful.
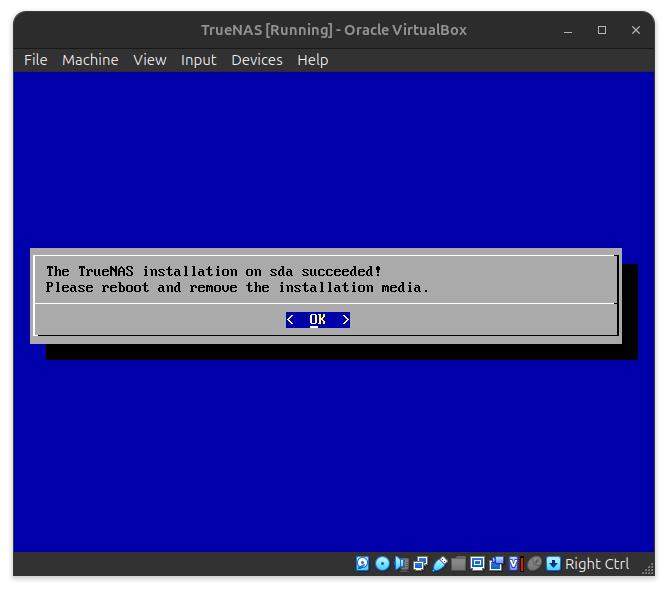
To remove the installation media, in the installation menu that now appears again, select Shutdown to switch off the computer.
Then remove the USB stick.
TrueNAS -> Settings -> Storage -> Remove ISO)That’s it. When the computer is switched on again, TrueNAS starts and is ready for configuration.
The console output after a successful start looks something like this:
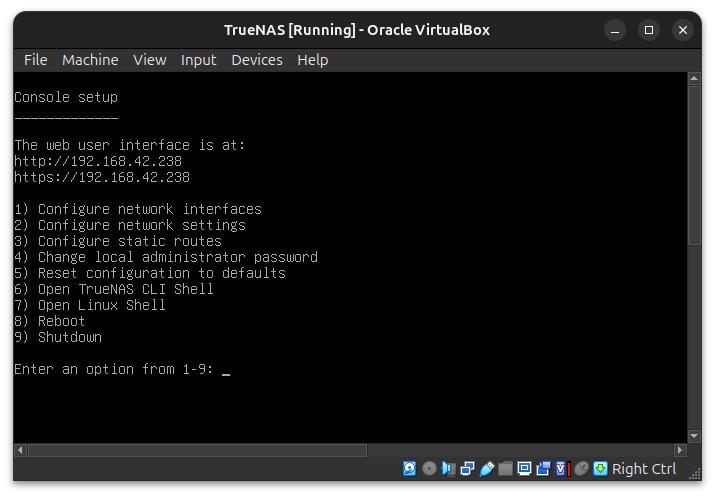
Here you will also find the address at which the TrueNAS WebGUI can be accessed. In my case, .238 was obtained from the DHCP server: http://192.168.42.238. This is likely different on your side.
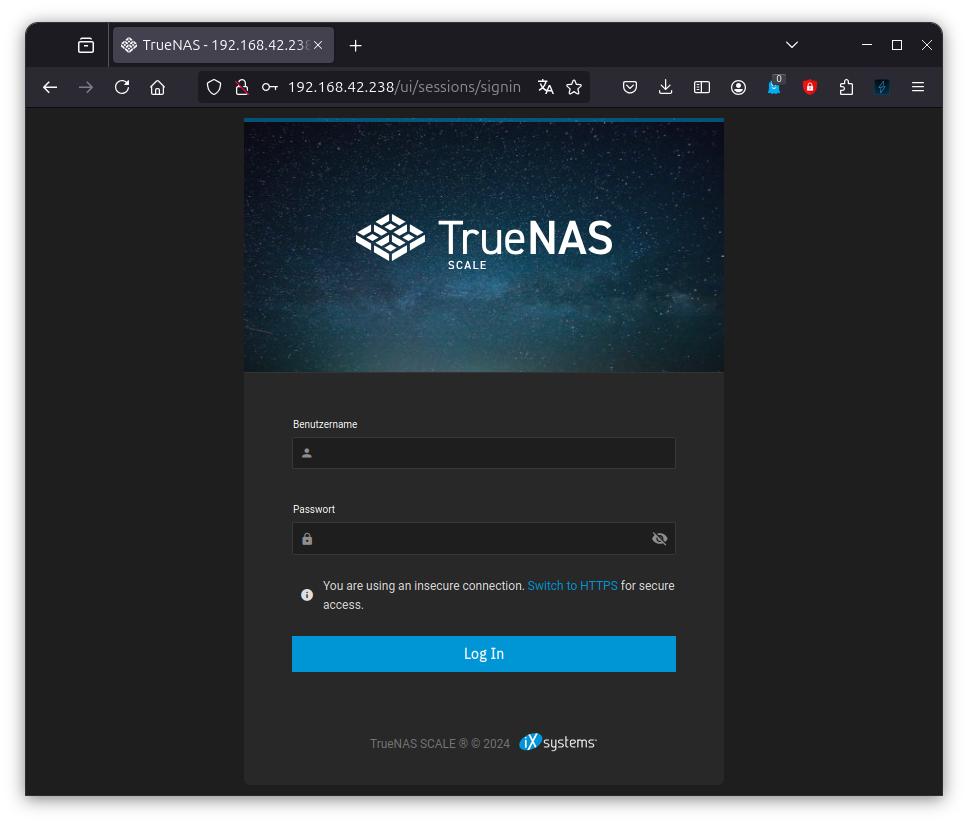
The TrueNAS login screen, here you log in with the user admin and the password assigned during the installation.
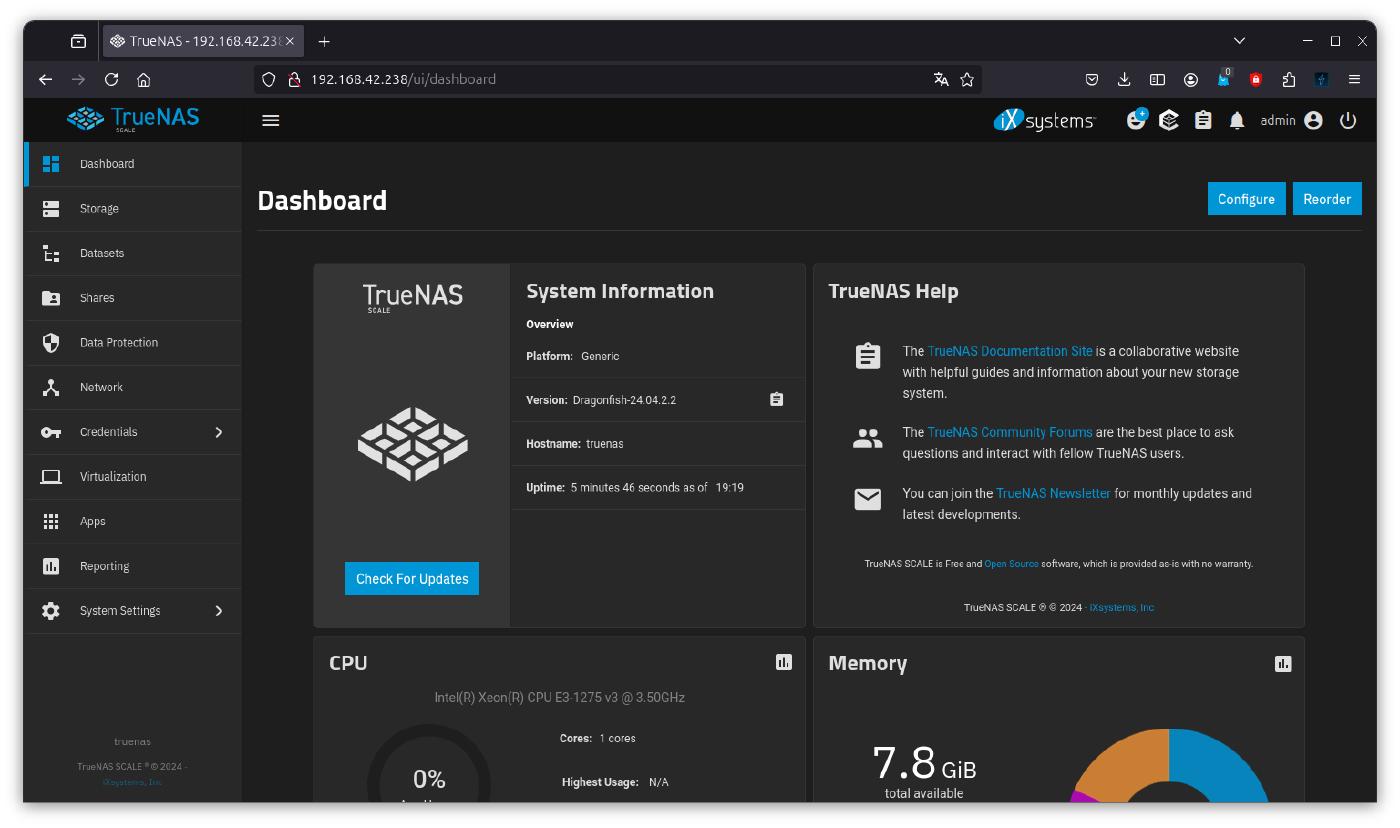
When logged in, TrueNAS welcomes you with a tidy dashboard.
Conclusion
Fortunately, the configuration is also very simple and produces results very quickly. Next, I suggest continuing with the next article in this series: Configuring TrueNAS - Create a Data-Pool .